Weblogic 11g Installation Using Jar File
Weblogic 11g Installation Using Jar File process as mentioned below,
Pre-requisite for installing Weblogic 11g through .jar file is to have a Java 1.6.2 or higher version.
Installing the Weblogic Server:
UNIX:
JAVA_HOME/bin/java -jar wls1036_generic.jar
Windows:
JAVA_HOME\bin\java -jar wls1036_generic.jar

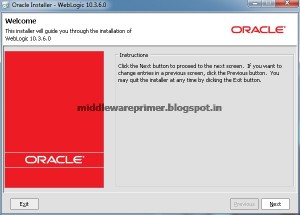
After you start the Oracle WebLogic Server Installer, the Welcome screen is displayed.
Click Next.
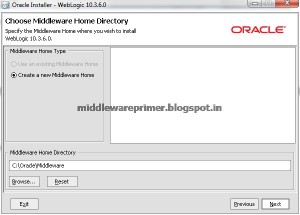
On the Choose Middleware Home Directory screen, appears select Create a new Middleware Home
Click Next.
On the Register for Security Updates screen, select whether or not you want to receive the latest product and security updates. If you choose not to receive updates, you are asked to verify your selection before continuing.
Click Next.

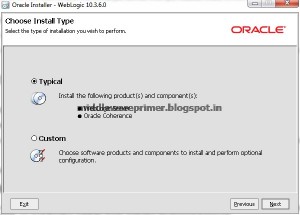
On the Choose Install Type screen, select Typical and click Next.
On the JDK Selection screen, select a valid JDK and click Next.

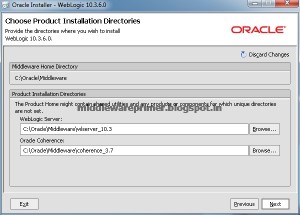
On the Choose Product Installation Directories screen, verify the location for the WebLogic Server Installation and click Next.
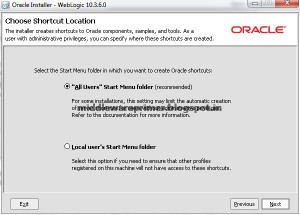
We are installing Oracle WebLogic Server on a Windows system, the Choose Shortcut Location screen appears. Specify a location where you want Windows to create a shortcut to Oracle products and click Next
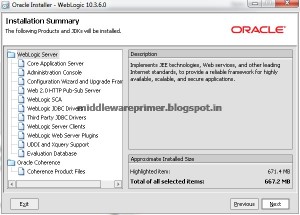
Click Next on the Installation Summary screen.
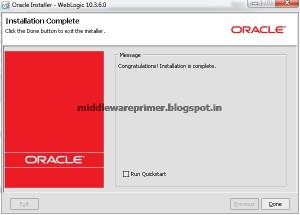
On the Installation Complete screen, de-select Run Quickstart and click Done to exit the Installer.